
Chart and drawing tools
The chart in Watchlist.top is not only a place to watch candles. It is also a working area where you switch timeframes, compare bars and candles, draw zones and notes, move saved figures, and keep visual context for the next session. Some controls change only the current view, while drawings and selected indicator settings can stay attached to the coin.
What this section covers
- Where to switch candles/bars, timeframes, indicators, zoom, Reset zoom, grid, All charts, and fullscreen.
- Which drawing tools are available in the toolbar: Price line (static horizontal), Ray (one-directional from a point), Fibonacci retracement, Parallel lines, Price channel, Segment, Rectangle, Waves 3 / Waves 5 / Waves 8, Note (text label), Volume Profile (vertical volume distribution across a price range), and Ruler.
- How to choose a drawing tool, place points on the chart, select an existing figure, move it, or delete it.
- How to set the color before drawing: change the color in the color picker in the chart header before selecting a tool. Every new figure will use that color.
- How to delete a figure on desktop: right-click directly on the figure. The figure is removed immediately without a confirmation step.
- How to delete figures on a touchscreen: select a figure and tap the trash button to remove only that selected figure. If no figure is selected, tapping the trash button turns on red multi-delete mode; then tap figures on the chart to delete them one by one. Tap the trash button again to leave multi-delete mode.
- How the trash button differs by device: on desktop, the trash icon removes all custom figures from the current coin at once. On mobile, the same icon is optimized for selected-delete and multi-delete mode.
- How the default tool color differs from the saved color of a specific figure.
- Why a selected figure can show its own color in the color picker and how recent colors speed up repeated markup.
- Why saved figures remain attached to the coin after reload even if part of the figure is outside the currently visible candle range.
- How to add and configure indicators: volume, moving averages (MA, EMA), Bollinger Bands, MACD, RSI, CCI, NATR, and ZigZag.
- How invalid indicator parameters are handled: if a missing or invalid value affects only one independent line, that line is skipped; if the whole indicator needs the value, the parameter field is highlighted and the indicator is not drawn until the value is fixed.
- How magnet mode changes where drawing points land: disabled means freehand, weak snaps to the nearest OHLC price, and strong prioritizes the closest high or low.
- How points are placed horizontally: without a magnet, a point can be placed between the candles and the right of the last candle; the magnet still ties it to the time and price of the nearest candle.
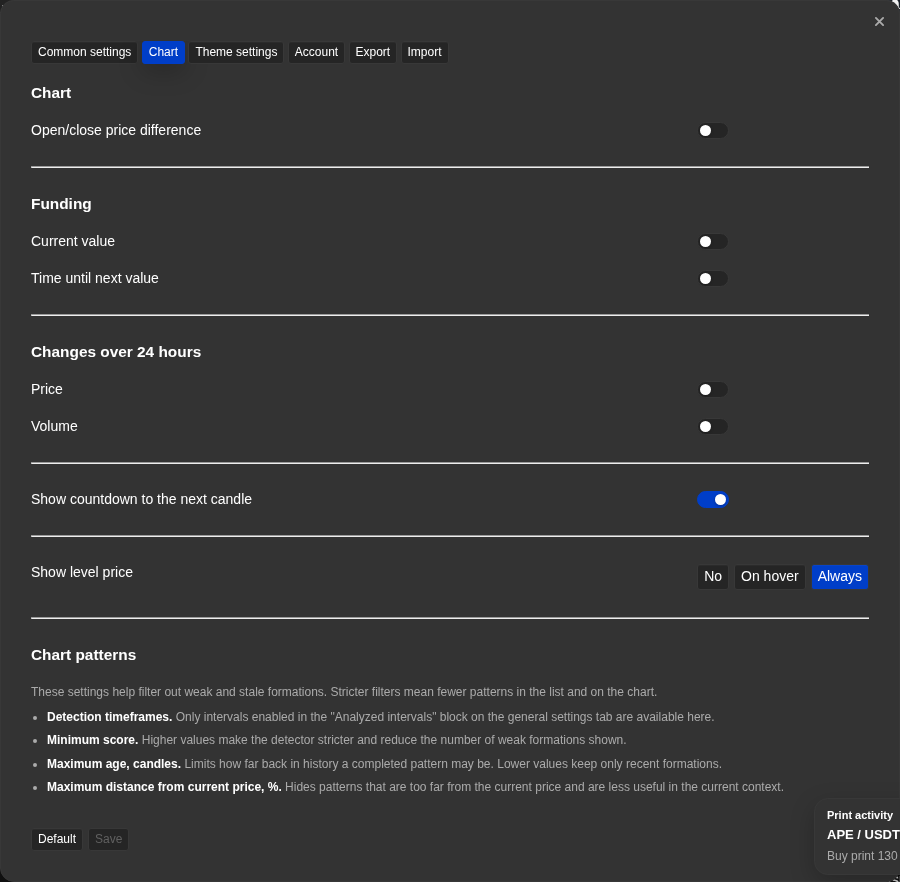
- How to set signatures and figure points in Settings → "Chart": signatures can be hidden, displayed when placed on a desktop or selection on a mobile or kept visible at all times; the background, size and position of the text are set separately, and on the desktop the radius of the control points.
- How Ctrl helps with drawing or editing: Holding Ctrl temporarily involves the behavior of a weak magnet if you put or move a point without a stronger magnetic mode.
- How Alt helps Segment and Ray: when drawing or moving the second point, holding Alt ties the slope to the nearest angle, times 15°.
- What the Linear tool shows: the percentage and absolute change in price, the time elapsed, and the number of candles between two points on the chart.
- How a magnifying glass helps to draw on touch: on a mobile, the optional magnifying glass button shows an increased area around the finger when you put or edit the dots of the figures. It also helps to place and move the dots of the line; while the dots of the line are dragged, the line signature hides to not cover the enlarged area.
- How the view is actually controlled: drag the chart or scale, use the wheel/gear and scale buttons, then increase "Drop scale", and to return the auto scale, double-click the price scale.
- How price-scale automation works: By default, the graph automatically adjusts the vertical scale when the coin or timeframe is switched. If you press the price axis and move it vertically, the scale is fixed manually. To return the auto-scale, you need to double-click the price scale. If the scale is fixed and the new coin is substantially more expensive or cheaper than the previous one, the candles will go beyond the visible area.
- What can be shown in the chart: timeframe, candle countdown, candle date and time, V-volume OHLC prices, open/close difference, P24, V24 and for futures funding rate and payback countdown.
- How Level Price Markings work: The Level Price Mode in Settings controls whether the markings are hidden, only shown when pointed out, or always visible.
- How the price-level signatures behave at the left edge: the user Price line shows the price and the timeframe at which the level was set, and the automatic levels show their price and timeframe signature. If the starting point has gone to the left of the visible range, the signature remains at the left edge of the graph, not disappears horizontally.
- How automatic graphic patterns work: If you include them in Settings, the app scans the selected timeframes and draws the best found pattern on the chart, taking into account quality, age, distance and validation.
Key screens and controls
- Chart header with ticker, market, candle statistics, chart type buttons, and timeframe buttons.
- Drawing toolbar with the main figure tools and delete mode.
- Color picker with the current color, manual selection area, and recent colors.
- A chart with a selected figure, resize points, and saved annotations.
- A chart after reload where the saved markup is restored for the same coin.
- Indicator panel showing available indicators, including ZigZag, with on/off toggles and parameter fields.
- Indicator panel with an invalid parameter highlighted and the warning explaining that the value is required.
- Magnet button in the drawing toolbar with its three states: disabled, weak, and strong.
- Settings signatures of the figures: display mode, background, text size and position, control point radius.
- A line on a chart showing the change in price, the time and the number of candles.
- A mobile magnifying glass when placing a point on a touch screen.
- Information about candles with selected fields: timeframe, countdown, date/time, OHLC, C-O, funding, P24 and V24.
- Chart with an automatic pattern overlay and signature.
Step-by-step flow
- Open the coin and choose the timeframe and chart type you want to work with before drawing. This affects only the current chart view.
- Pick the figure you need from the drawing toolbar. For a horizontal level use Price line; for a directional line use Ray; for retracement use Fibonacci; for a zone use Rectangle or Parallel lines; for Elliott counting use Waves 3, 5, or 8; for a text label use Note; for volume distribution use Volume Profile. Place the required points directly on the chart to finish the figure.
- After the figure appears, click it again to select it. A selected figure can be moved, resized, or removed.
- To set the color before drawing: open the color picker in the chart header and choose the color first. Then pick the drawing tool. Any figure placed from that point will use that color.
- To recolor an existing figure: click or tap the figure to select it. The color picker updates to show that figure color. Change the color in the picker. Only the selected figure changes — other figures on the chart are not affected.
- To delete a figure on desktop: right-click directly on the figure. It disappears immediately.
- To delete a figure on a touchscreen: select the figure and tap the trash button. If no figure is selected, the trash button enters red multi-delete mode; then tap each figure you want to remove. Tap the trash button again to leave multi-delete mode.
- Use the main color control when you want to set the default color for new figures. New markup will use this color until you change it again.
- If you want to recolor an existing figure, select that figure first and then change the color in the picker. The figure keeps its own saved color after that.
- Use recent colors when you repeat the same markup pattern, for example green buy zones and red sell zones.
- After saving and reopening the page, open the same coin again. Saved markup is restored automatically and can still be moved on the chart.
- To add an indicator, open the indicator panel from the chart controls. Toggle the indicator on and adjust its parameters if needed. The indicator stays visible for that coin and timeframe until you turn it off.
- If an indicator parameter is highlighted, enter a valid value before expecting the indicator to appear. For indicators with independent lines, only the invalid part is skipped; for indicators that need all parameters, the whole indicator stays hidden until the parameters are valid.
- Turn on the magnet before placing or editing drawing points if you want them to snap to candle prices. Weak magnet snaps to the nearest OHLC price; strong magnet prioritizes the nearest high or low.
- If you need to know the exact time position between the candles or to the right of the last candle, turn off the magnet.
- Hold Ctrl when you install or drag the point if you only need a temporary weak fastener and you don't want to switch the magnet mode.
- For Segment or Ray, hold Alt when you set or move the second point if you want to tie the line angle to a 15° step.
- Use Linear to measure the percentage change in price, the absolute change in price, the time it has passed and the number of candles before you put in or stop. On the desktop when you turn on Linear from the wavelength bar, the second left click cancels the time measurement; the wheel click and Shift click scenarios work separately. On a mobile tab outside Linear, it deletes it.
- On your mobile, turn on the loop in the drawing wave if your finger closes the point you're putting in, and the loop applies to the points of the figures, the edit pins, and the points of the line.
- Open Settings → "Chart" to include information fields, select the signature mode of the figures and set their background, size and position.
Default keyboard shortcuts
Drawing shortcuts
Screenshots
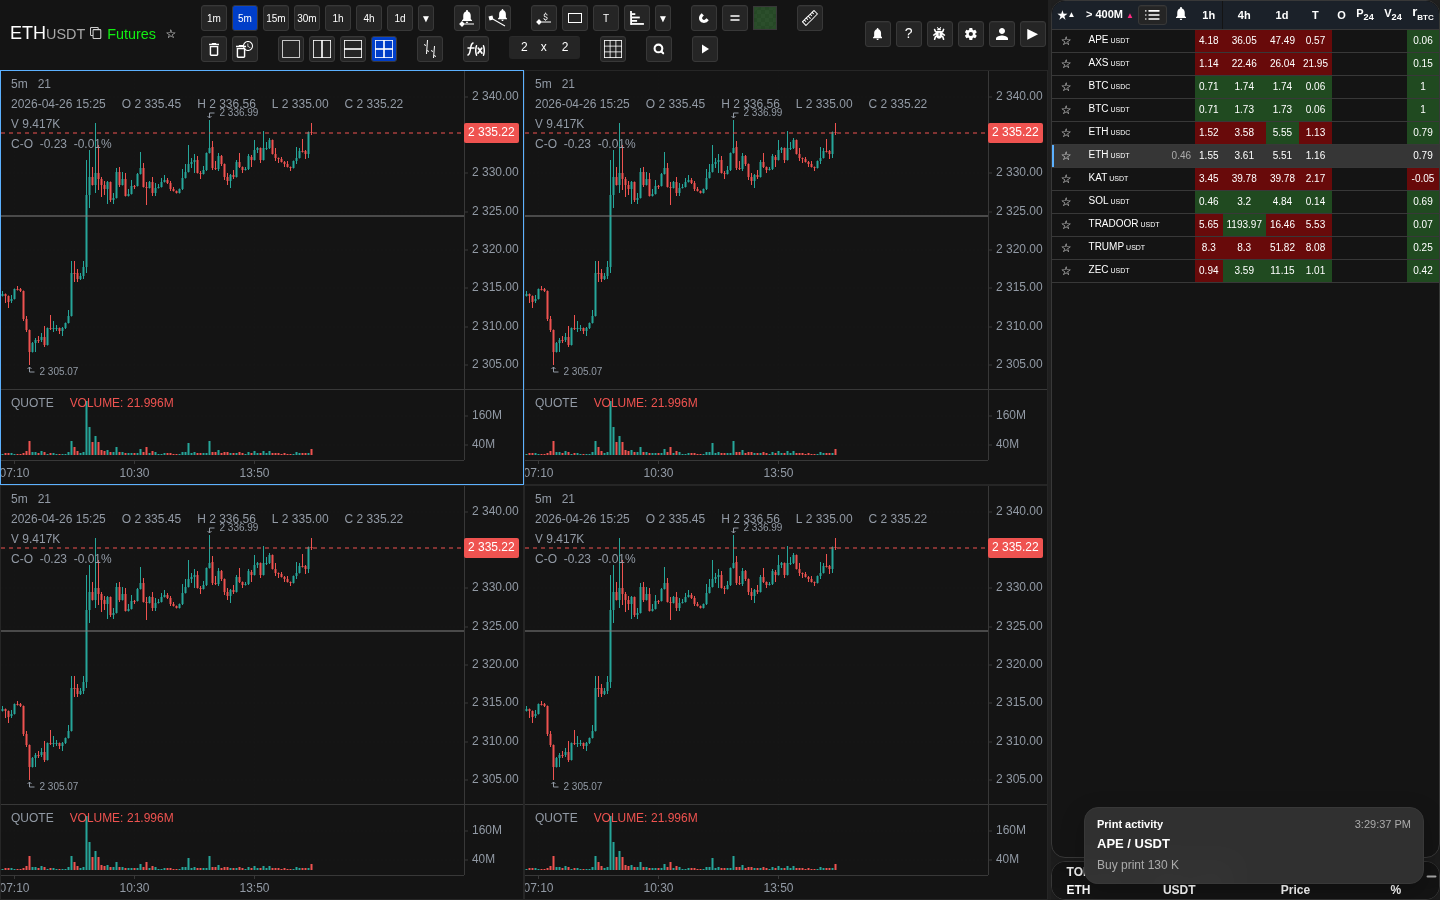
Chart header with main controls
Chart type buttons, timeframe buttons, ticker, and candle statistics are grouped in the chart header.
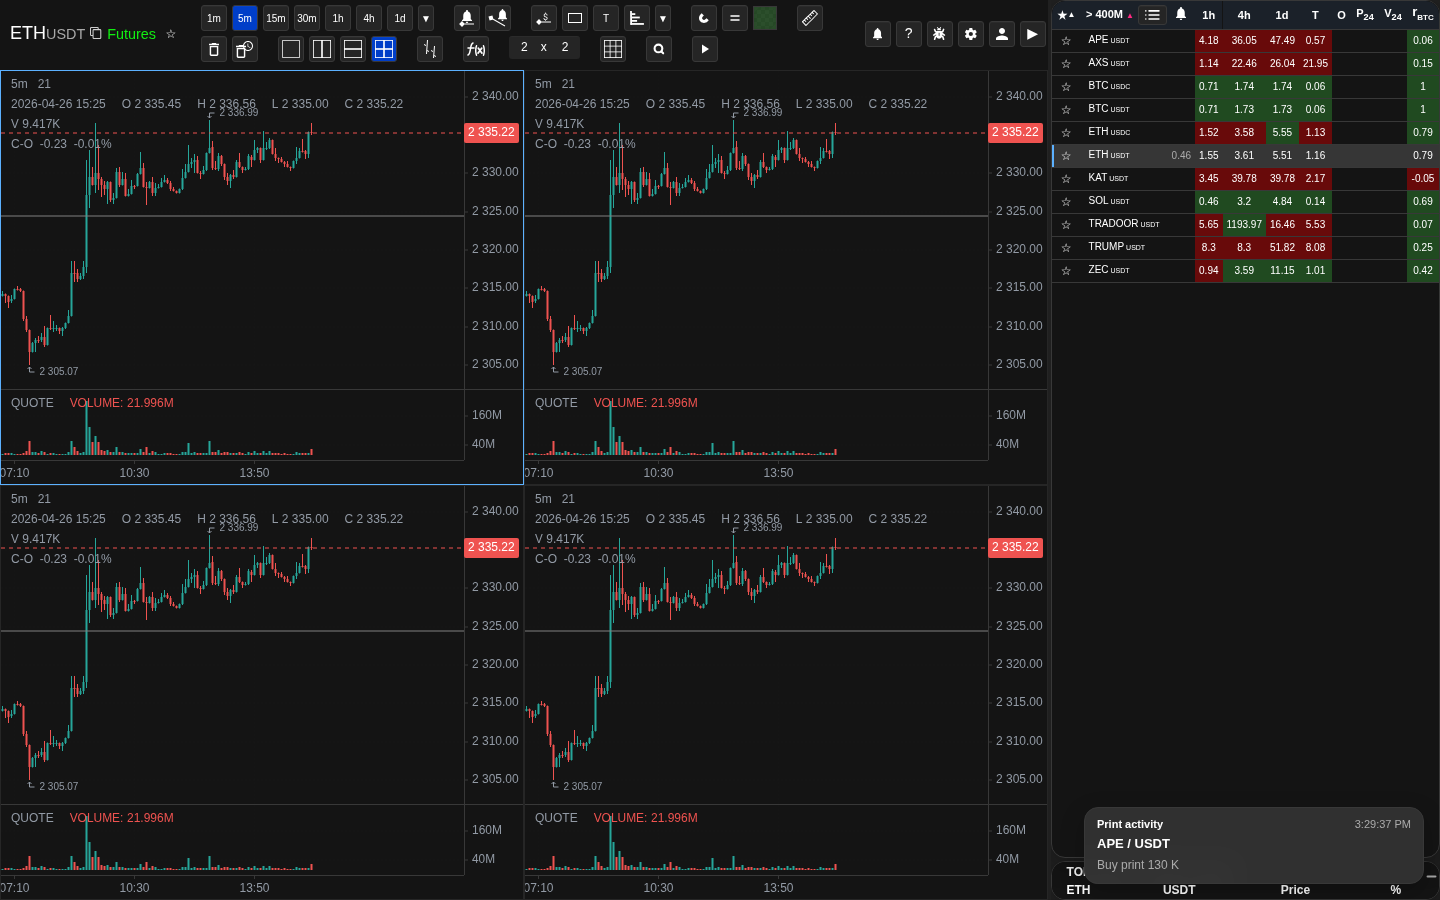
Drawing tools in the chart toolbar
The drawing toolbar is where figures are selected and delete mode is enabled.
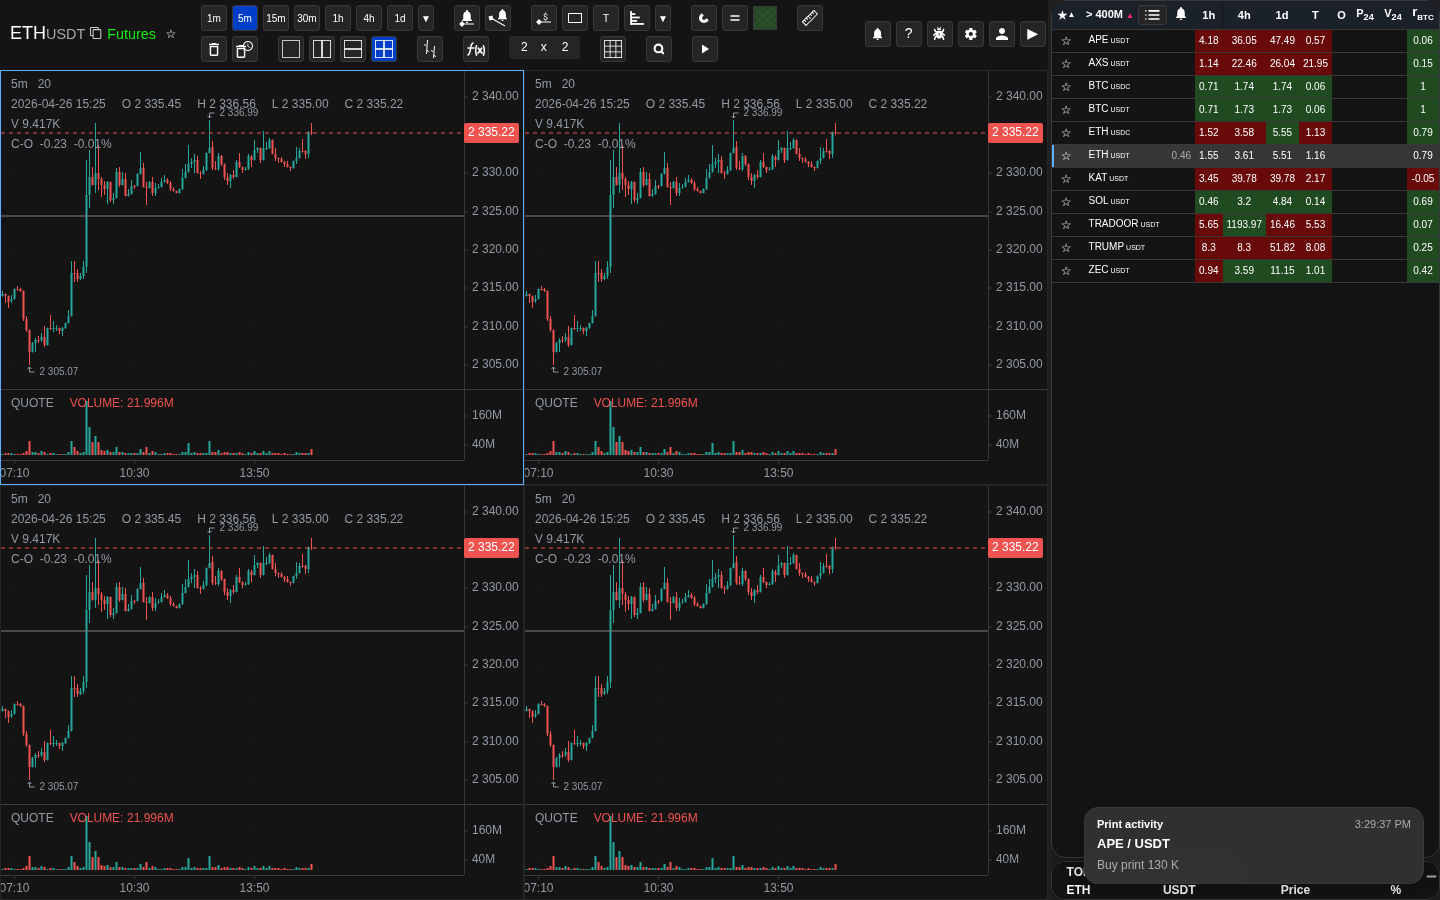
Creating a zone or another figure on the chart
Drawing points are placed directly on candles until the figure is complete.
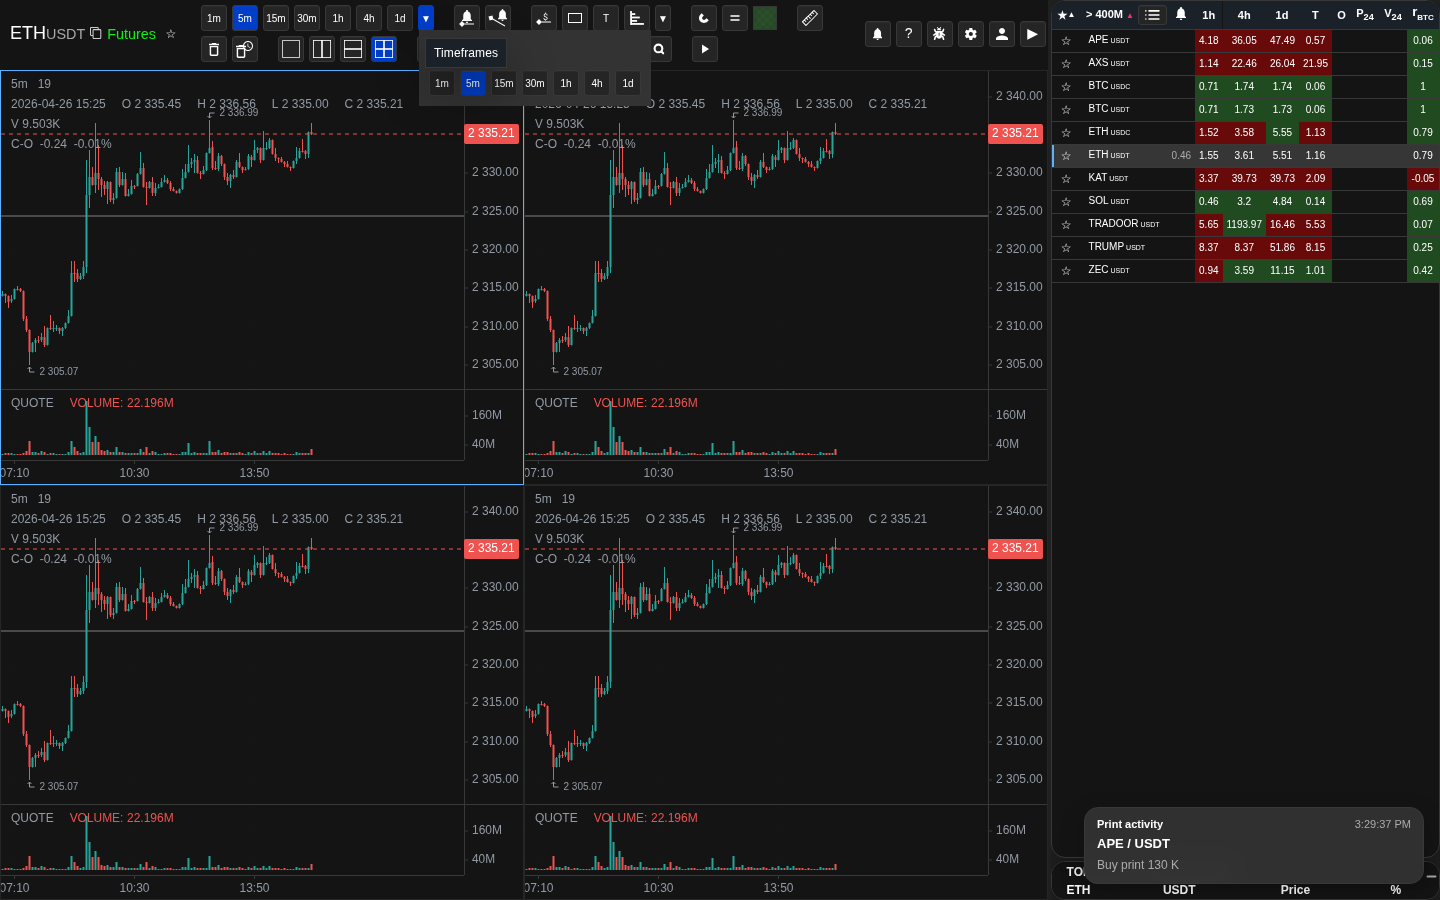
Color picker and recent colors
The color picker changes the default draw color and keeps recent colors for reuse.
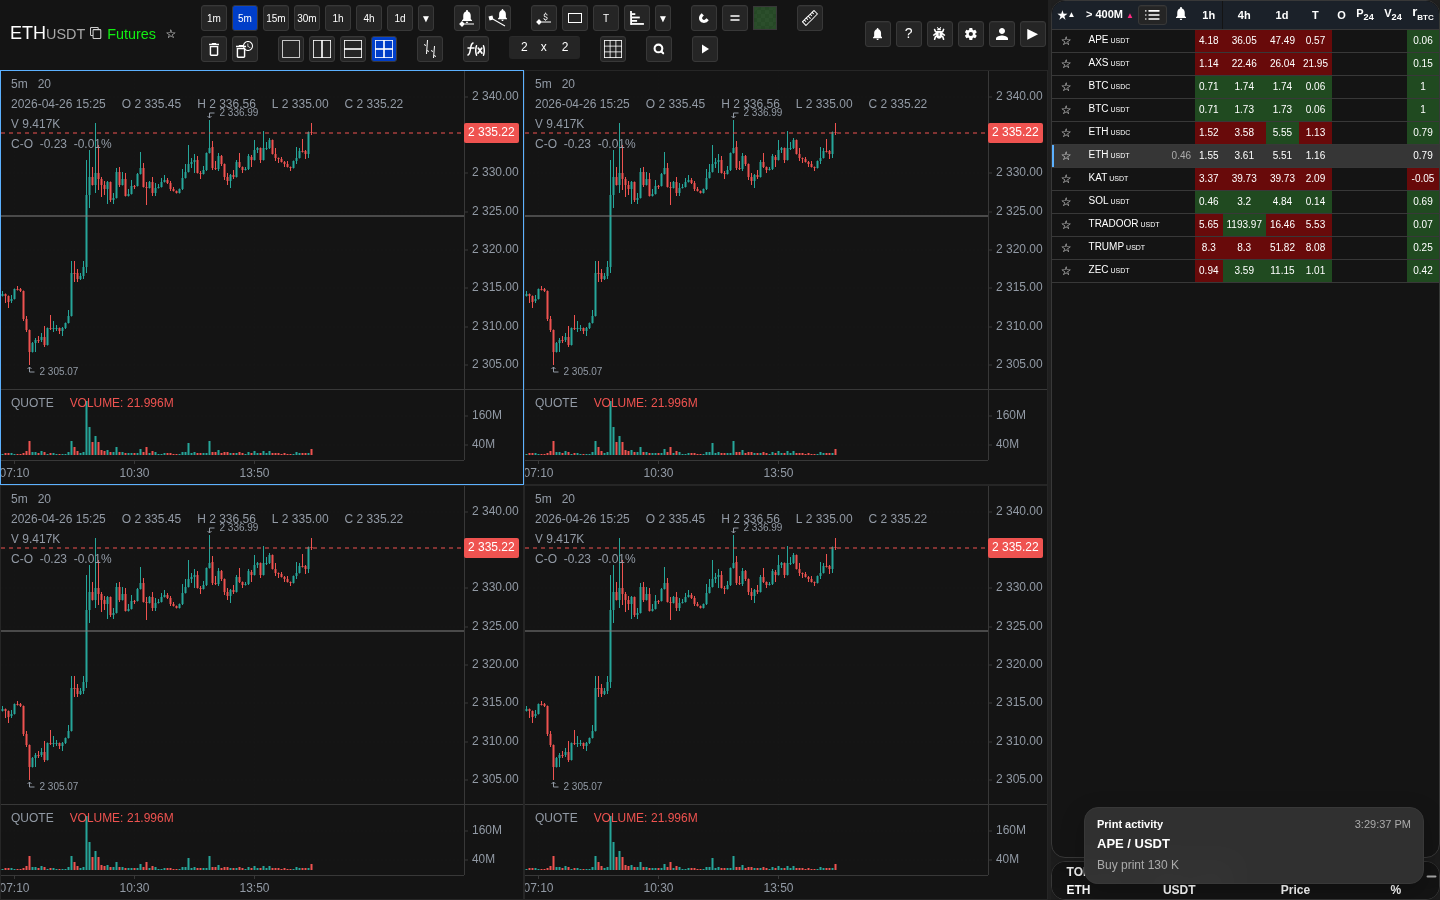
Selected figure ready for editing
Resize handles and the selection state identify the figure that can be moved or recolored.
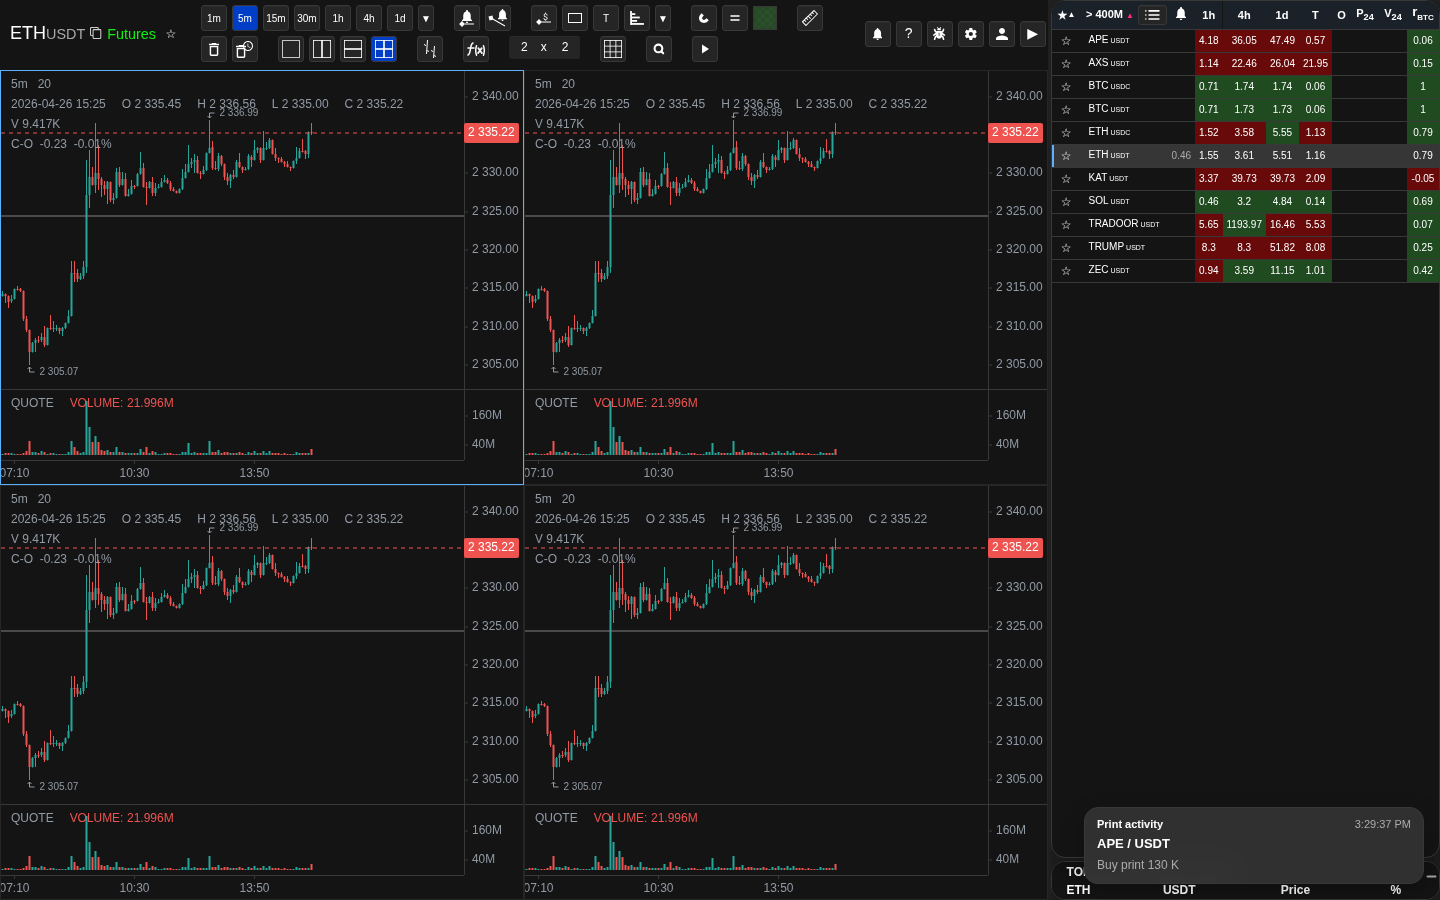
Saved markup after reopening the same coin
Saved markup returns when the same coin is opened again after reload.
Automatic chart pattern overlay
Recognized patterns depend on score, age, distance, confirmation, and timeframe settings.
Screenshots
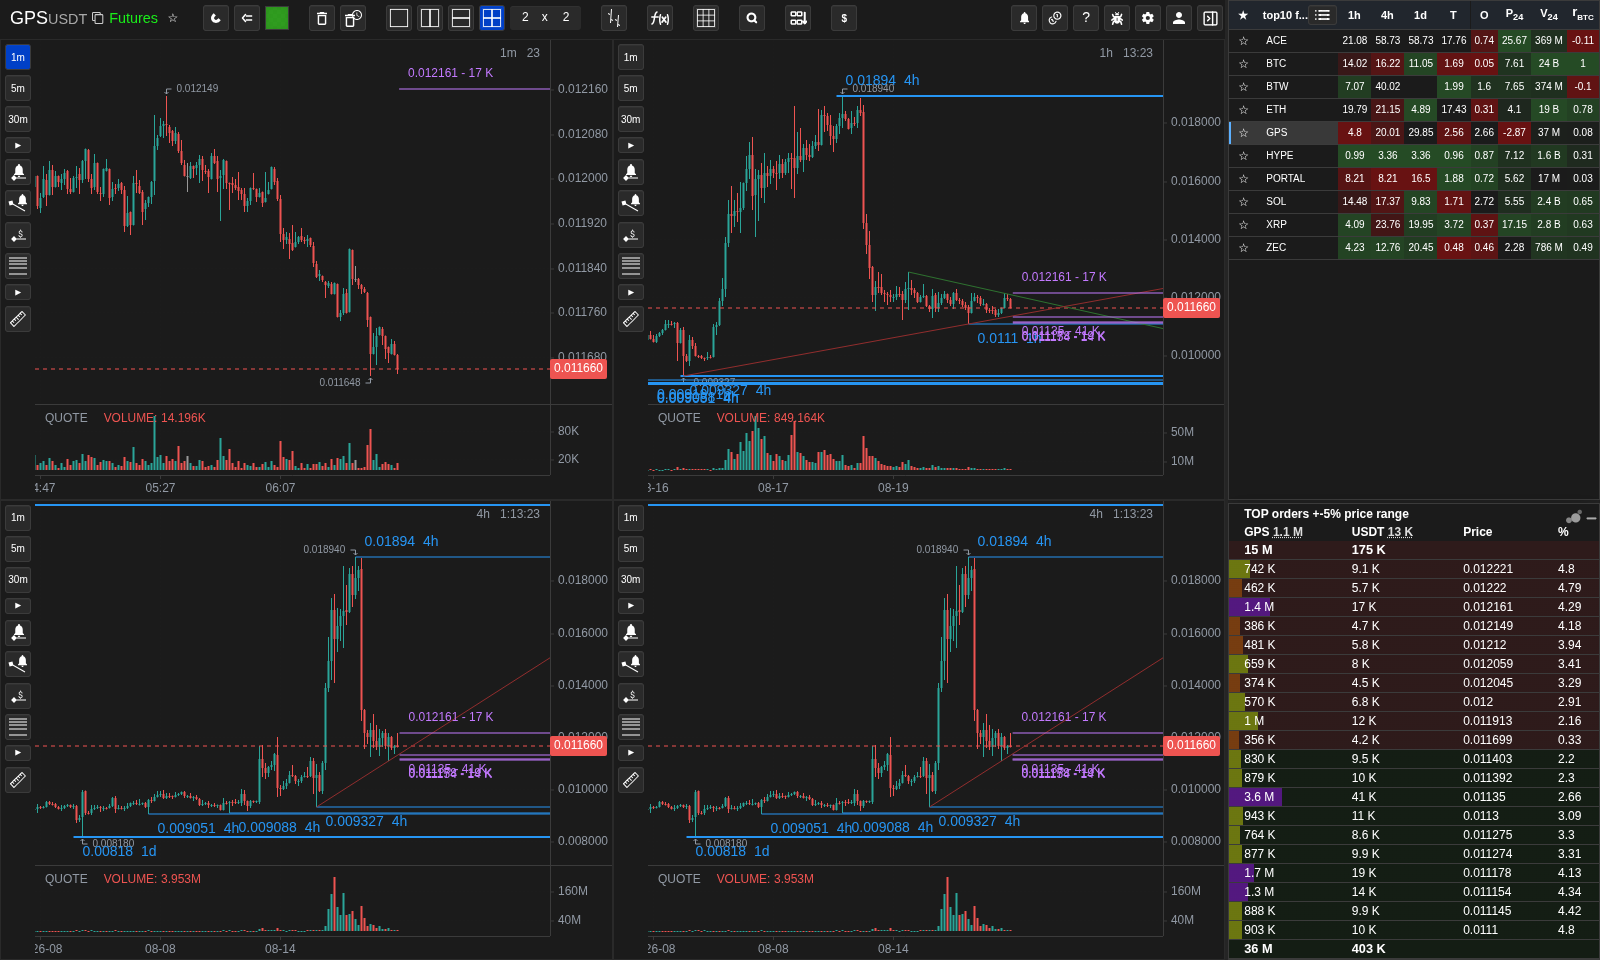
Per-chart vertical toolbar
Timeframe, alert tools, figure picker, and ruler can be placed on every chart; global controls stay in the shared header.
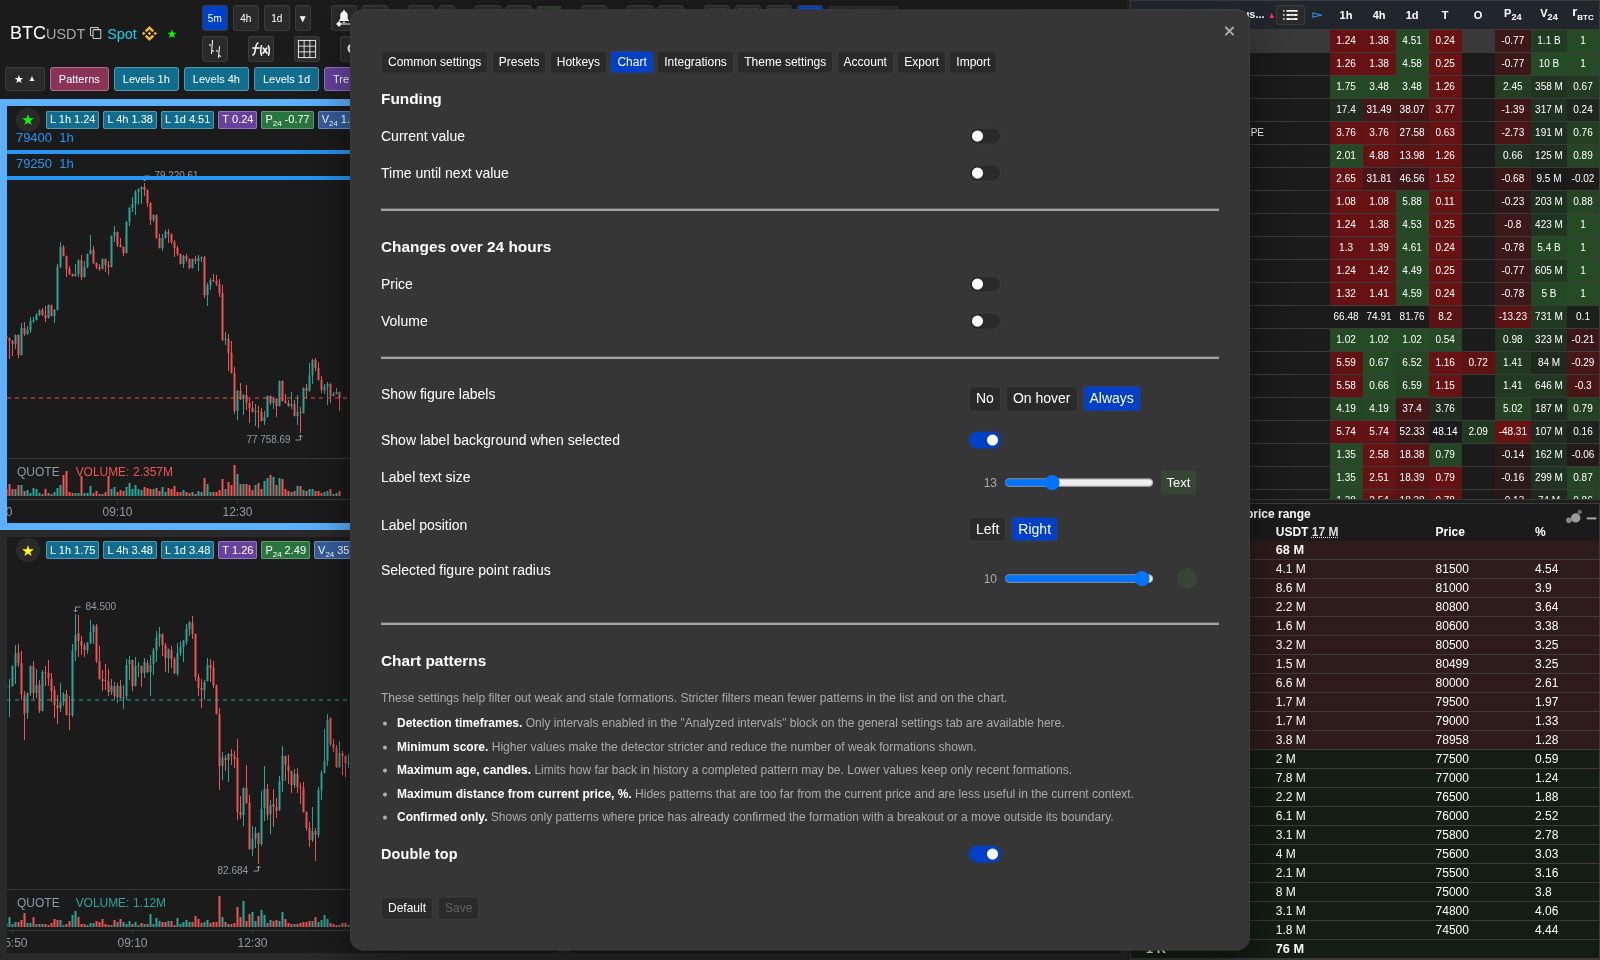
Shape label and point settings
Choose label mode, background, size, position, and desktop control-point radius.
Operational notes
- The color in the header is the default for new figures. It should not silently repaint figures that already exist on the chart.
- Each saved figure keeps its own color. If you recolor one selected figure, only that figure changes.
- When a figure is selected, the color picker can reflect that figure color so that it is clear what exactly will be changed.
- Some figure types can move freely on both axes, while others are intentionally limited by their role on the chart.
- Figures are saved by stable coordinates such as time and price, so they can be restored even when the current visible range of candles has changed.
- Indicators are per coin and per timeframe. Turning on an indicator for one coin does not affect other coins or other timeframes on the same coin.
- ZigZag uses its own parameters and can look different across timeframes because the price swings it detects depend on the candle series being analyzed.
- Empty indicator parameters are not interpreted as zero. Enter the value you want explicitly.
- Deleting figures works differently on desktop and touchscreen. On desktop, right-click on any figure removes it immediately. On mobile, tap the trash button while one figure is selected to delete only that figure; if nothing is selected, the trash button enters red multi-delete mode.
- Magnet mode applies when a drawing point is placed or edited. Points already on the chart do not move just because you switch magnet mode; snapping happens only during active placement or dragging.
- When the magnet is turned off, the point's horizontal coordinates are not limited to the centers of the candles: the figure can be placed between the candles or continued to the future area to the right.
- Control points appear in the designated figure: on the desktop also when pointing, on the mobile after selection. During the creation or movement of the figure itself they hide so as not to interfere with the gesture; their area of impact corresponds to the chosen radius.
- The "When you sign" mode for mobile signatures is called "When you choose" because there is no signatures on the touch screen.
- The retention of Ctrl during drawing or editing is temporary.
- The Alt retention for Segment and Ray is also temporary. It only limits the second point until Alt is pressed, and does not change the saved figure after the key is released.
- The line does not create a constant mark. It shows the measurement while the tool is active, holds the wave type inside the graph boundaries and disappears when switched to another tool.
- If the touch loop is on, it helps to set and move the line points, and when you drag the line point, the signature is hidden so that the enlarged area reads better.
- Price line and automatic levels signatures remain on the left edge if the starting point has gone beyond the visible range on the horizon.
- Automathematical graphic patterns are not manual drawings. They are computational overlays controlled via Settings → "Chart; they can appear and disappear when the candles or settings change.
- C-O is only displayed in the candle candle if the open/close difference is included in the chart settings.
- If the graph looks empty after you switch to the new coin, the candle is not visible, the price area is empty, the price axis is most likely fixed manually.
- There are no Reset, Fit, Panorama, or Focus buttons. Navigate by dragging the chart/scales, wheel or pinch, zoom controls, Reset zoom, and double-clicking the price scale for auto-scaling.
- The per-chart toolbar can remain horizontal, appear vertically on hover, or stay vertically visible. It contains timeframe, alert level/ray, figure picker, and ruler; global controls stay in the shared header.
- NATR is available in the indicator panel. Fibonacci levels are horizontal segments between their two anchor positions, not full-width lines.
When to use it
- Open this section when you need to draw zones, lines, or notes and keep that markup attached to the coin.
- Use it to understand why one figure keeps its own color while new figures use the current default color.
- It also covers moving saved figures, reopening the chart, and continuing to work with the same markup later.
When not to rely on it
- This is not the main section for list metrics, screener filters, or notification rules.
- It is also not the main place for account access, subscription limits, or delivery channels.
Typical interpretation mistakes
- Do not confuse the current tool color with the saved color of an already existing figure.
- Do not expect every temporary chart state to survive reload. Only the saved markup is restored predictably.
- Do not assume that all figure types should move equally freely. Some tools are intentionally constrained.
- Do not turn on the magnet if you want to place a point between the candles or in the future area to the right: the bandage will intentionally bring it back to the nearest candle.
Algorithms and formulas to understand
- Why dragging the price axis locks the vertical scale and why a locked scale can hide candles when a coin with a very different price level is opened next
- Why a new figure uses the current default color, while an already saved figure keeps its own color until you edit that exact figure
- Why markup returns when you open the same coin again after reload, instead of disappearing with the previous session
- Why a saved figure can still be moved after reopening the page, even if the visible candle range on the chart has changed
- Why holding Ctrl can temporarily snap a drawing or edited point without changing the magnet setting
- Why holding Alt snaps only Segment and Ray to 15-degree angles while the second point is being placed or moved
- Why automatic chart patterns can change when new candles arrive or when pattern filters are adjusted
- Why invalid indicator parameters can hide only one line or the entire indicator depending on how that indicator is calculated
- Why ZigZag depends on the current candle series and timeframe
- Why mobile trash first deletes the selected figure and enters multi-delete mode only when no figure is selected
- Why Price line and automatic level labels are clamped to the left edge when their source point is off-screen horizontally
- Why without a magnet can a point be between the candles or to the right of the last candle, and with the magnet it returns to the candle's coordinates
- Why are control points visible when you're putting or choosing but hidden when you're creating and moving a figure?