Guide
Large limit orders
Use large orderbook liquidity as a map of areas where price can react, slow down, or accelerate.
Disclaimer and responsibility
- The scenarios in this guide are educational examples, not financial advice and not a promise of profit.
- WatchlistTop can help structure market analysis, but every concrete trading decision is made by the trader.
- The trader is responsible for position size, leverage, stop placement, exchange risk, liquidation risk, and the consequences of each trade.
- Crypto assets and futures are high-risk markets. A strategy can produce losses even when all screener conditions look valid.
Market
Best on liquid instruments where the orderbook is deep enough and large orders are meaningful.
Timeframes
- Orderbook reading is near-term, but it should be combined with 5m, 15m, and 1h chart structure.
- Use 1m/5m for immediate reactions and 15m/1h to avoid trading every small wall.
Screener tools
- Large-order column in the list.
- Orderbook panel with highlighted large orders.
- Large-order heatmap for all visible coins.
- Threshold, timeout, multiplier, and price-distance controls.
- Orderbook imbalance row for liquidity inside 5% from price.
Basic setup
- Set a threshold that hides ordinary noise but keeps important liquidity visible.
- Use timeout so very short-lived large orders are filtered out.
- In the heatmap, reduce maximum price difference when you only want orders close to current price.
- Compare the order with chart levels: a large order near a level is more useful than an isolated order.
How to read the setup
- A large bid can support price only if price reacts to it; a large ask can resist price only if buyers cannot absorb it.
- If a large order disappears before price reaches it, do not treat it as support/resistance.
- If price absorbs a large order and continues, that can be a continuation signal instead of a reversal signal.
When to skip
- Do not trade a large order without chart context.
- Do not rely on orderbook walls on very illiquid coins.
- Do not ignore timeout: fleeting orders can mislead the setup.
Risk management
- Use invalidation behind the liquidity area or behind the reaction candle.
- When trading an absorption breakout, the failed absorption area becomes the invalidation zone.
- Use smaller size when the order is far from current price and requires a wide stop.
Screenshots
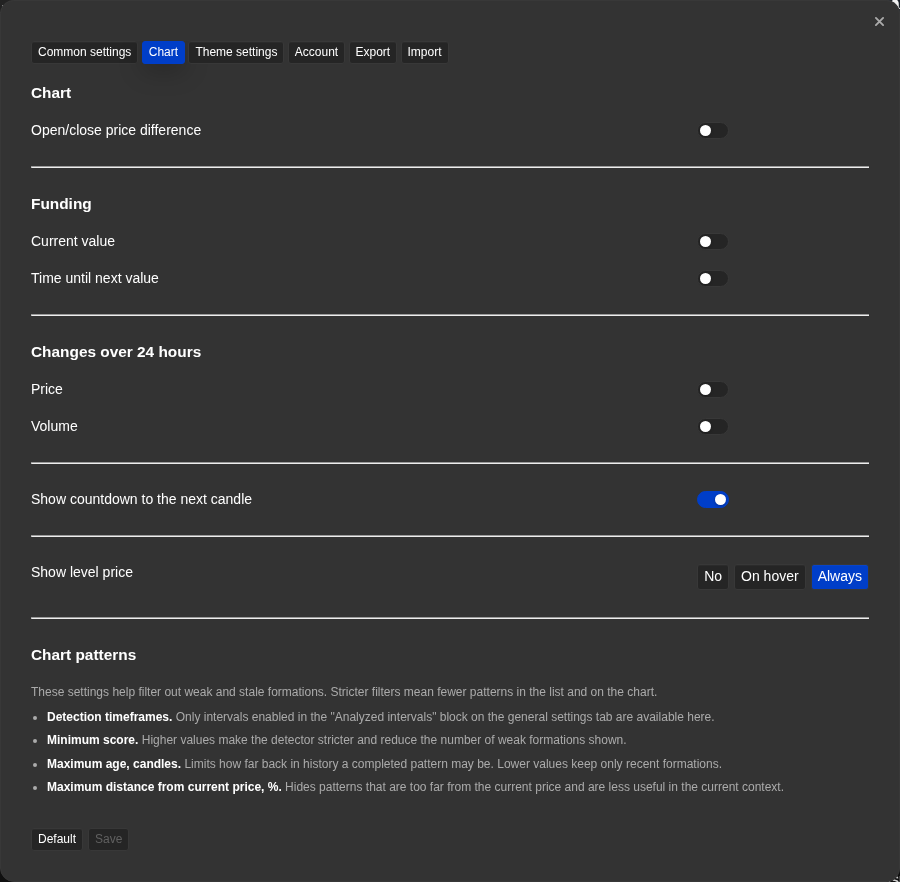
Large order controls
Threshold and timeout decide which orders are relevant enough to display.
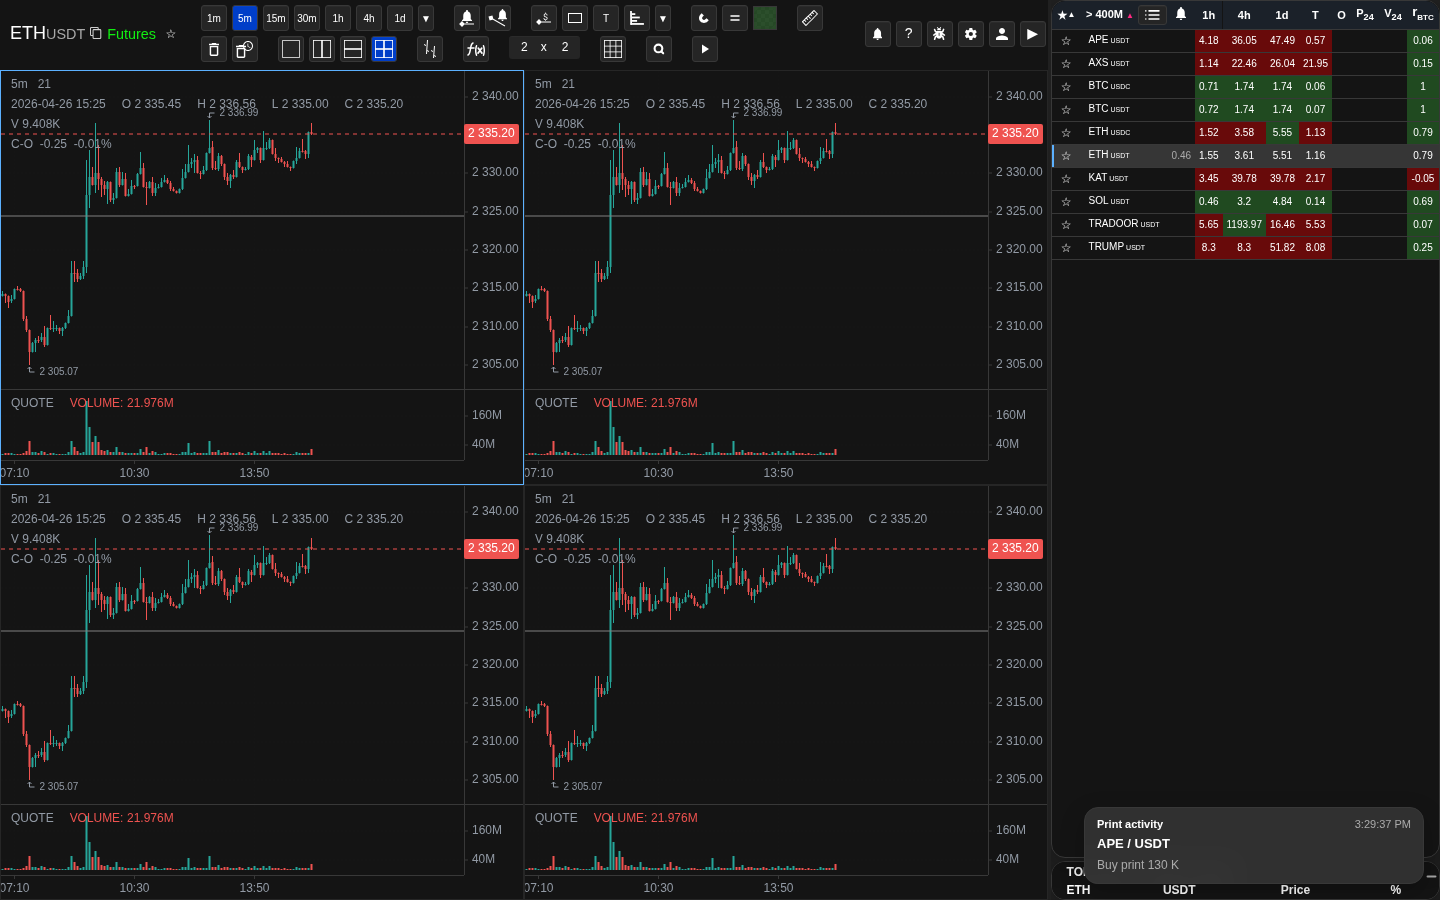
Heatmap of large orders
Use the map to compare nearby liquidity across the watchlist.